If you spend much time around RVs, I am sure you heard of, or experienced firsthand the notorious black streaks that get on the front, back and sides of the RV. Black streaks are one maintenance issue every RV owner is confronted with, and they are difficult to deal with.

Let’s start by looking into what causes these streaks to form on the sides of the RV. There are a couple of things that contribute to black streaks on RVs:
- The surface of some RV roofing material slowly sheds. When this happens, a chalky material starts forming and contributes to black streaks.
- Dirt naturally collects on the RV roof, and when it rains the dirt runs down the RV sidewalls leaving black streaks.

If you are like me, and you wash your RV frequently, you can keep black streaks in check. On the other hand, if you don’t wash the RV often, or if the RV sits exposed to the elements, black streaks will get on the RVs surface. Black streaks are extremely difficult to remove, especially on corrugated metal exterior siding.
With that said, I want to discuss the best way I have found to deal with black streaks on your RV. I have tried using numerous cleaning products, and trust me, there is no miracle or easy way to remove black streaks. But I do have a few tips that make the job a little easier.
There are numerous products on the market designed to remove black streaks, and I have tried lots of them. Some products work better than others but the bottom line is, if you let the RV sit too long you may never get all the black streaks off of the surface. If black streaks are not dealt with in a timely manner, they can literally bake into the surface, making it nearly impossible to remove.
So, the first step in dealing with black streaks is to remove them as soon as possible. When you use any black streak remover it’s important that you read and follow the manufacturer instructions. If you don’t use the product the way it is intended you won’t get the best results.
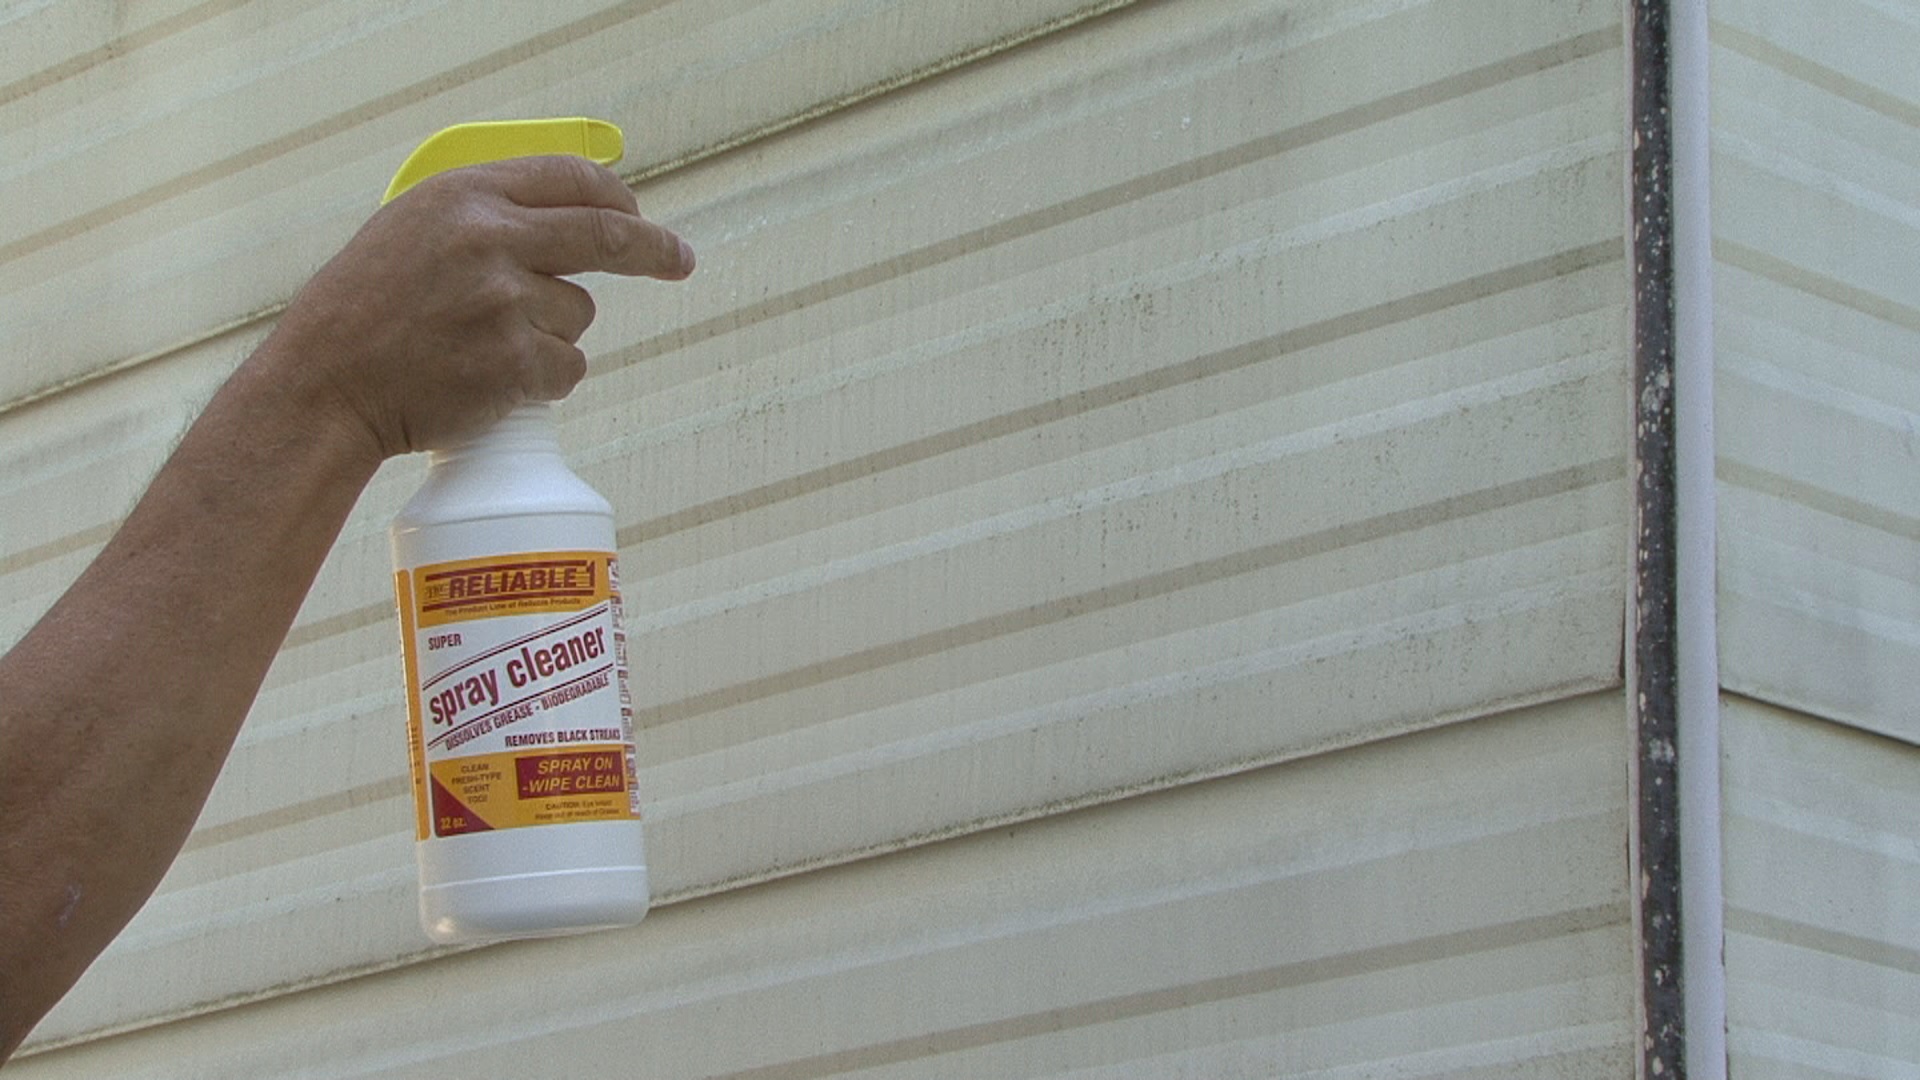
I am not affiliated with any product, but I want to tell you what I personally use to deal with black streaks on RVs, and as a general cleaning product. It’s called “Reliable One” and it works really well. It’s concentrated so you can dilute it for most cleaning jobs, but for difficult black streaks I use it full strength.
RV 101 caution: Be careful using it on or around graphics and it’s always a good idea to test any cleaning product in an inconspicuous area prior to using it on the RV. Always follow the manufacturer instructions when using cleaning products.
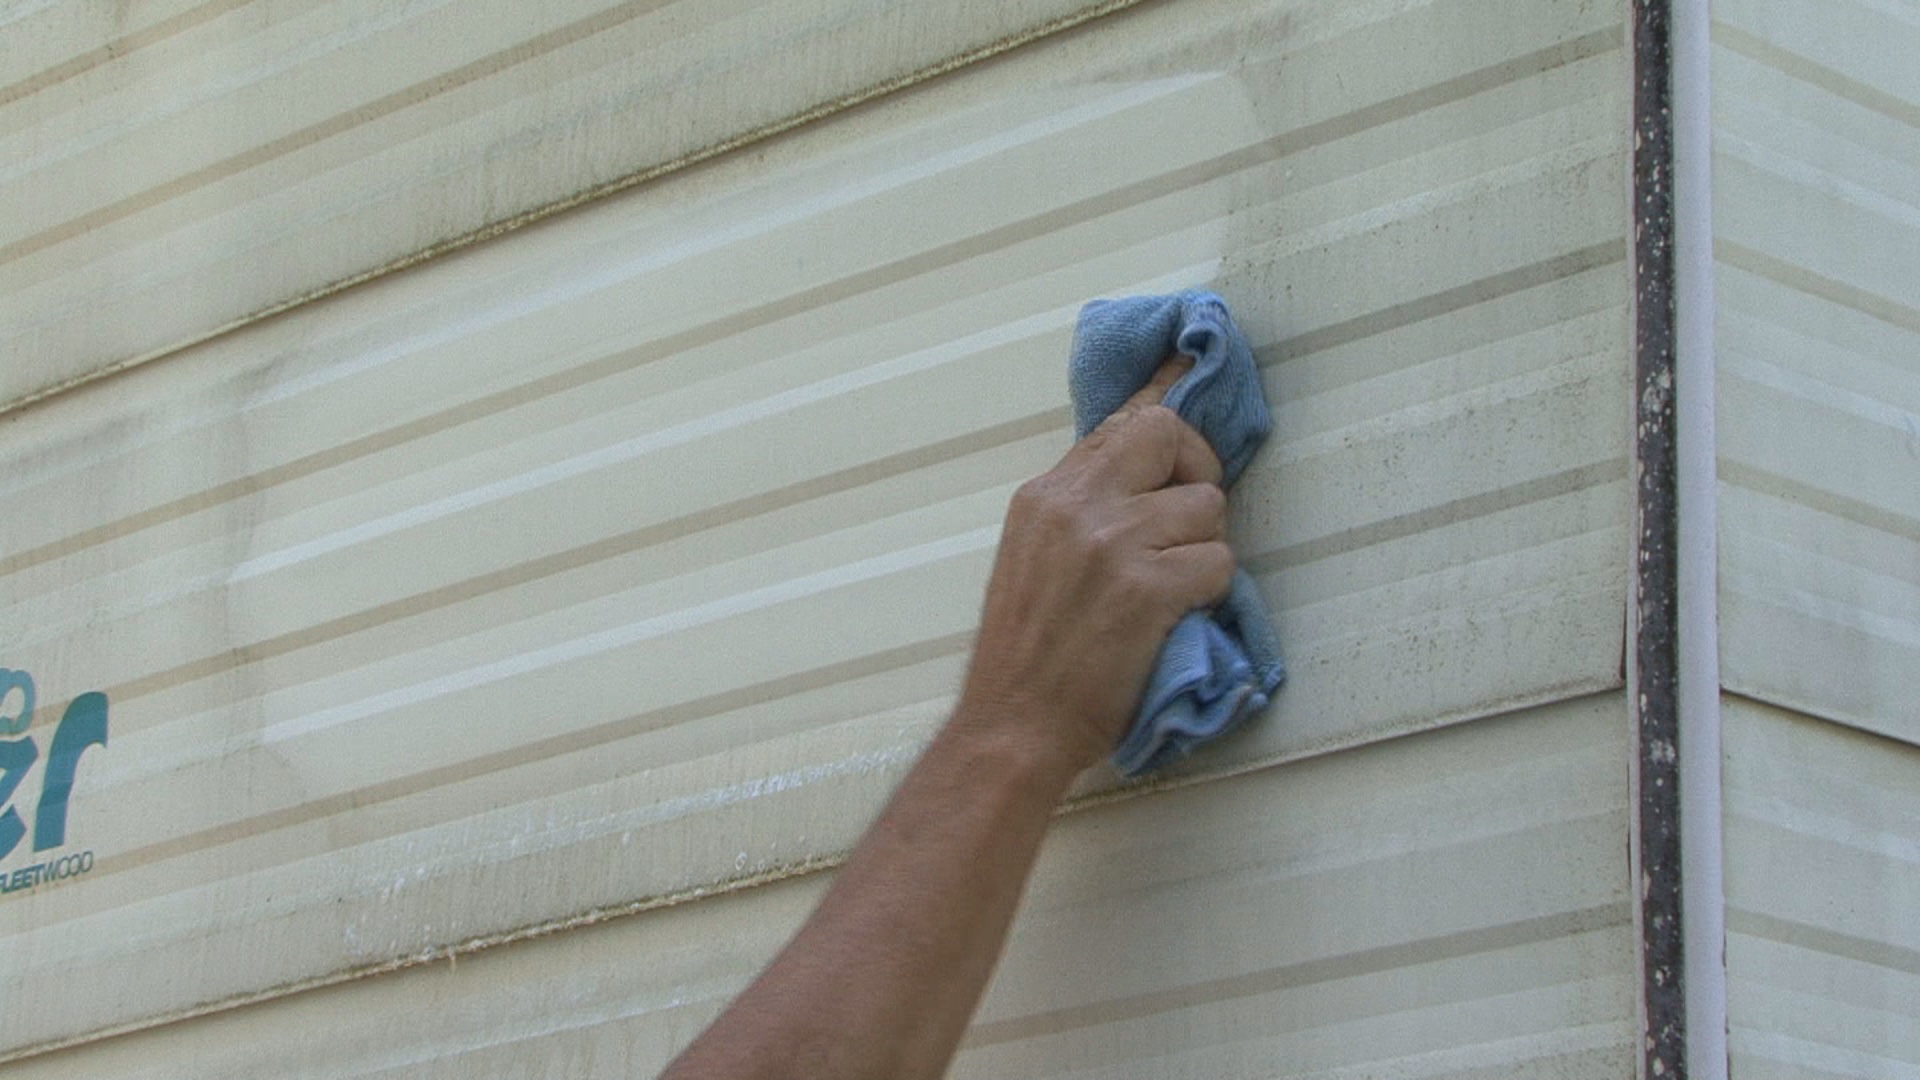
If you are cleaning black streaks you can use the product full strength. You can spray it directly on the area you are cleaning, or you can apply it to a clean cloth and then use it. I like to work in small areas at a time. Spray it on the black streaks, wait a minute and then wash or wipe the area clean. Reapply the product as needed for stubborn stains. If you use “Reliable One” for general washing or cleaning you can add 8 ounces of the product for every gallon of water. I have found that it works well on almost any surface for general cleaning.
If black streaks get really bad, there aren’t many products I know of that will completely remove them. If you wash the RV regularly and follow the directions for the black streak remover you can keep the RVs exterior looking new for years to come. If your RV is stored outside, exposed to the elements it’s a good idea to keep it covered too. If you want to try the Reliable One product you can usually find a vendor at RV shows, or it can be purchased online.
To learn more about using and maintaining your RV visit RV Online Training and watch some of our helpful RV videos on our YouTube Channel.
Happy Camping,
Mark J. Polk

Is there a reason to not use Mr. Clean Magic Eraser on either aluminum or fiberglass campers? I have been using it on my camper with “magic” success.
LikeLike
Mark,
Do you have any tips for how one (short) person can put a cover over their travel trailer by themselves? This looks like a two-person job, and I am stymied as to how I could go about it. Are there any particular covers or products that would make it easier? Thanks …
LikeLike
Before we built our RV garage, I kept our RV covered when it was stored outside. I installed the cover myself a couple of times. There is no easy way, or any shortcuts to the process, at least not that I am aware of. The first task is to get the cover on the roof of the RV. They are bulky and kind of heavy, depending on the size of your RV. Ours had a type of carrying bag you were able to pull up the ladder with you. Once on the roof, I would unroll it making sure the front and rear were positioned correctly. A major concern is to avoid tripping over the obstacles on the roof as you lay the cover out. When you know the cover is not caught on anything, you let it drop over the front and both sides, again being careful not to trip or fall as you lower it. As you go back down the ladder you can let the back section slowly come down over the rear of the RV. After you are back on the ground safely, follow the instructions for securing the cover. It’s not a simple job, and you need to exercise caution throughout the entire process. I used an ADCO cover that was designed specifically for our type and size RV.
Mark
LikeLike